Adding Locations
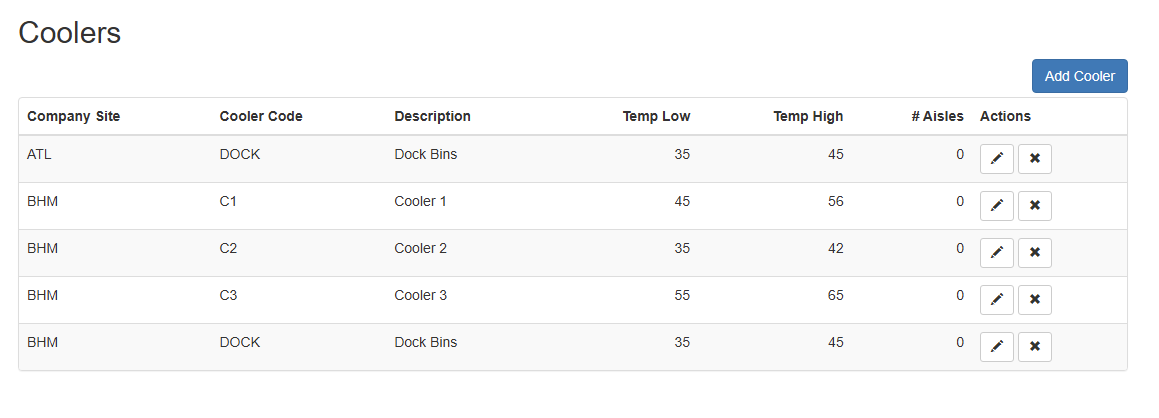
Adding Coolers
You can add additional coolers by clicking Add Cooler:
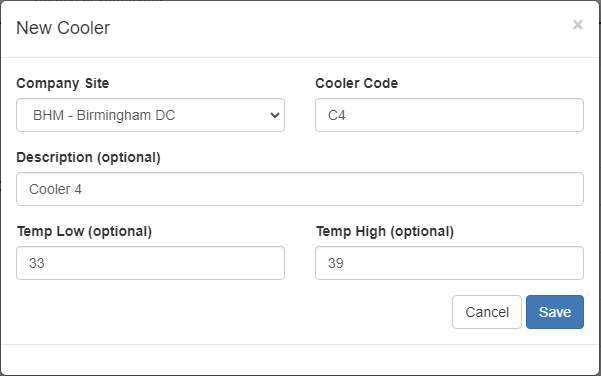
Cooler Details
Company Site: Select the Sprout Company Site
Cooler Code: This is the code for the cooler. It should be in alphanumeric order for selection, This helps create the pick path for your puller
Description: A more descriptive name for the cooler
Temp Low and High: This is optional, but when configured it will trigger warnings in conjunction with the storage temperature on item creation as well as integrated cooler management systems
Once you are complete click Save
Cooler Selection Order
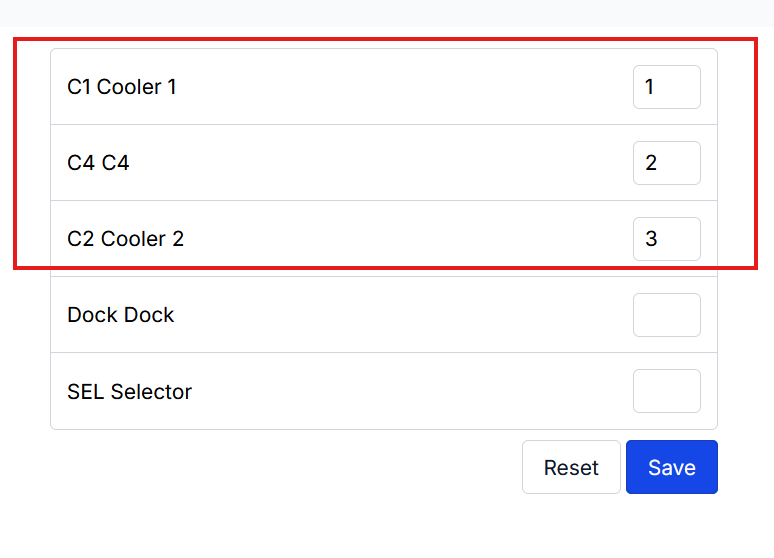
By default Sprout processes picking in a alphanumeric order. 0-9 then A to Z. A cooler with code C1 would come after a cooler with 1 or cooler M would come after cooler G.
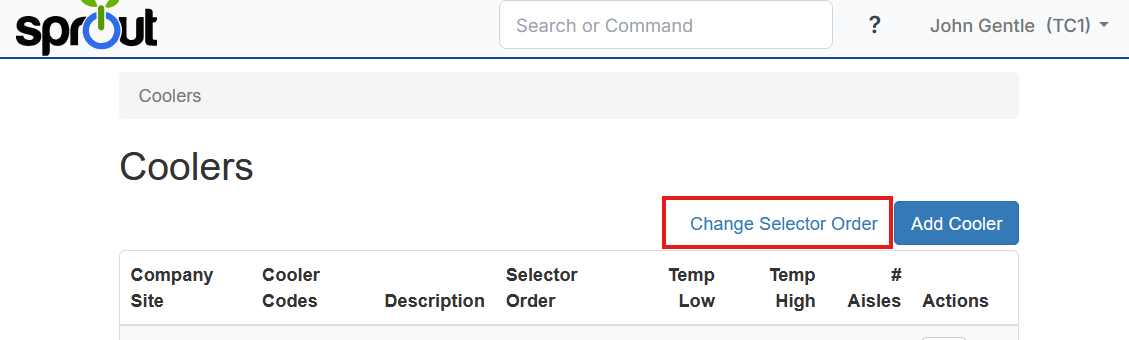
For locations that need to change the order, such as M, B, 5, C then F for cooler order the “Selector Order” can be set by choosing “Change Selector Order” from the Cooler Setup screen
Set the override order, using one number only once, and save.
Adding Aisles
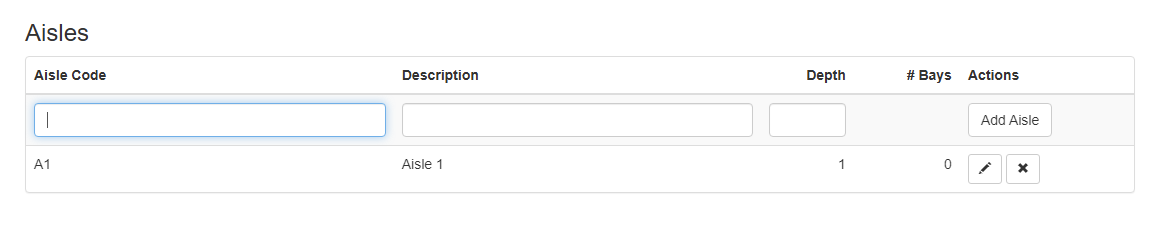
Once a cooler has been added you will start by adding aisles. The aisle is the path that a warehouse worker can drive a material handling machine or walk down. It will have racking on one or both sides.
These should also be in alphabetical order. Your warehouse team may have a pick path we can import as well. It is normal that some coolers have only one aisle.
The depth defines if the cooler is a drive in/push back rack and how many pallet positions deep it is. If it is not a drive in always use 1.
Adding Bays
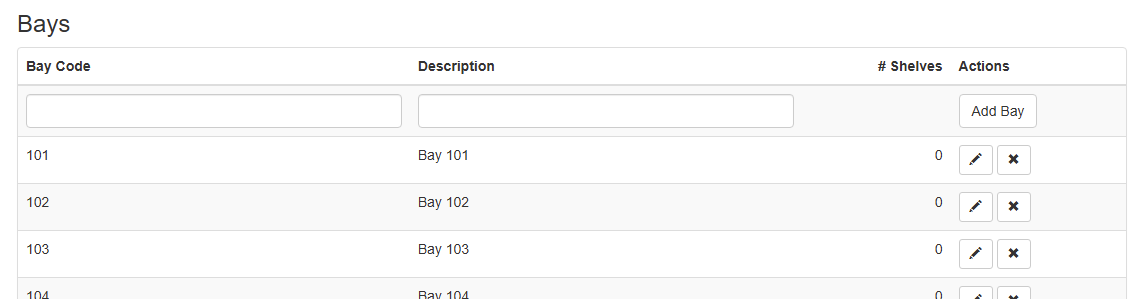
Once you have an aisle you will create bays. Click the pencil icon on the aisle that you want to add the bay to. The bay is the upright that holds pallets on shelves. This too should be alphanumeric.
Adding Shelves
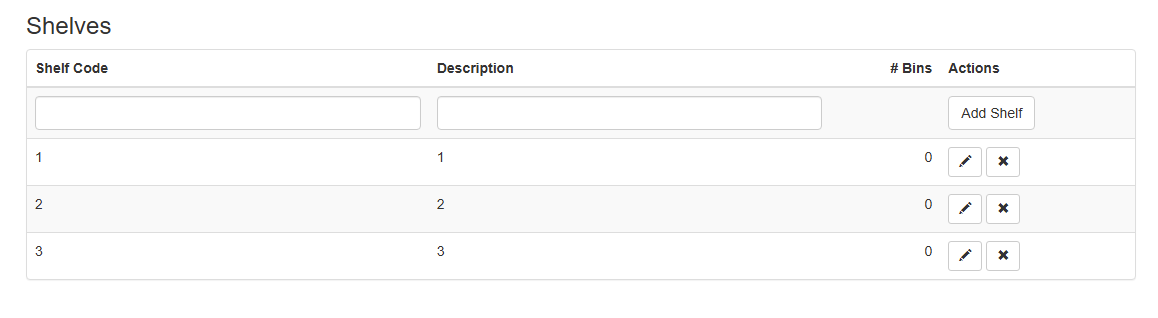
Once you have created bays, you must create shelves. The shelf is the horizontal position starting with the floor where a pallet will be stored. To add the shelf, click the pencil next to the bay you want to add the shelf to. Oftentimes the shelf is 1, 2, 3, etc. with 1 being the floor position.
Adding Bins
The final location to add is the bin. The bin is the actual picking location where the selector chooses items. When storing a full pallet in a bin, you typically only have one bin per shelf. When you have hand stack positions you may have multiple bins on a shelf. Typically these are numbers A, B, C, etc.

Bin Types
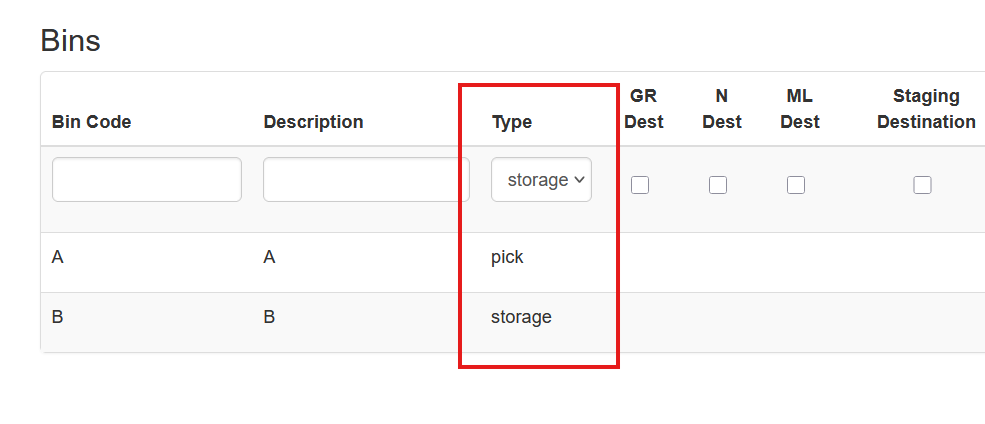
Bins can be defined as either a pick or storage bin. This selection assists users in WMS to find the item they are looking for and get the the correct lot and not a lot that is in the air and inaccessible.
Bin Attributes
At the bin level there are check boxes that define special uses for this bin.