Allocation Status
Before an invoice can be billed, inventory must be available for every item on the order.
When using WMS, direct lot allocation occurs during order selection. Otherwise, inventory is automatically allocated using FIFO (First In, First Out) when the Bill Orders screen loads.
Auto Allocation Indicators
On the Bill Orders screen, icons appear to the far right of each invoice showing the allocation status:
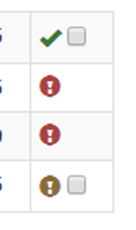
Red Exclamation (!)
The order does not have available inventory to allocate automatically.
Orange Exclamation (!)
The order was auto-allocated during the current session.
Green Checkmark (✓)
The order was auto-allocated during a previous session.
Orders with green checkmarks or orange exclamation icons are ready to be billed.
If no checkmark is present, the order cannot be billed until allocation issues are resolved.
Manual Allocation
If an order displays a red exclamation, inventory has not been allocated.
To allocate inventory:
- Click the red exclamation icon.
- The allocation screen will display each item on the order.
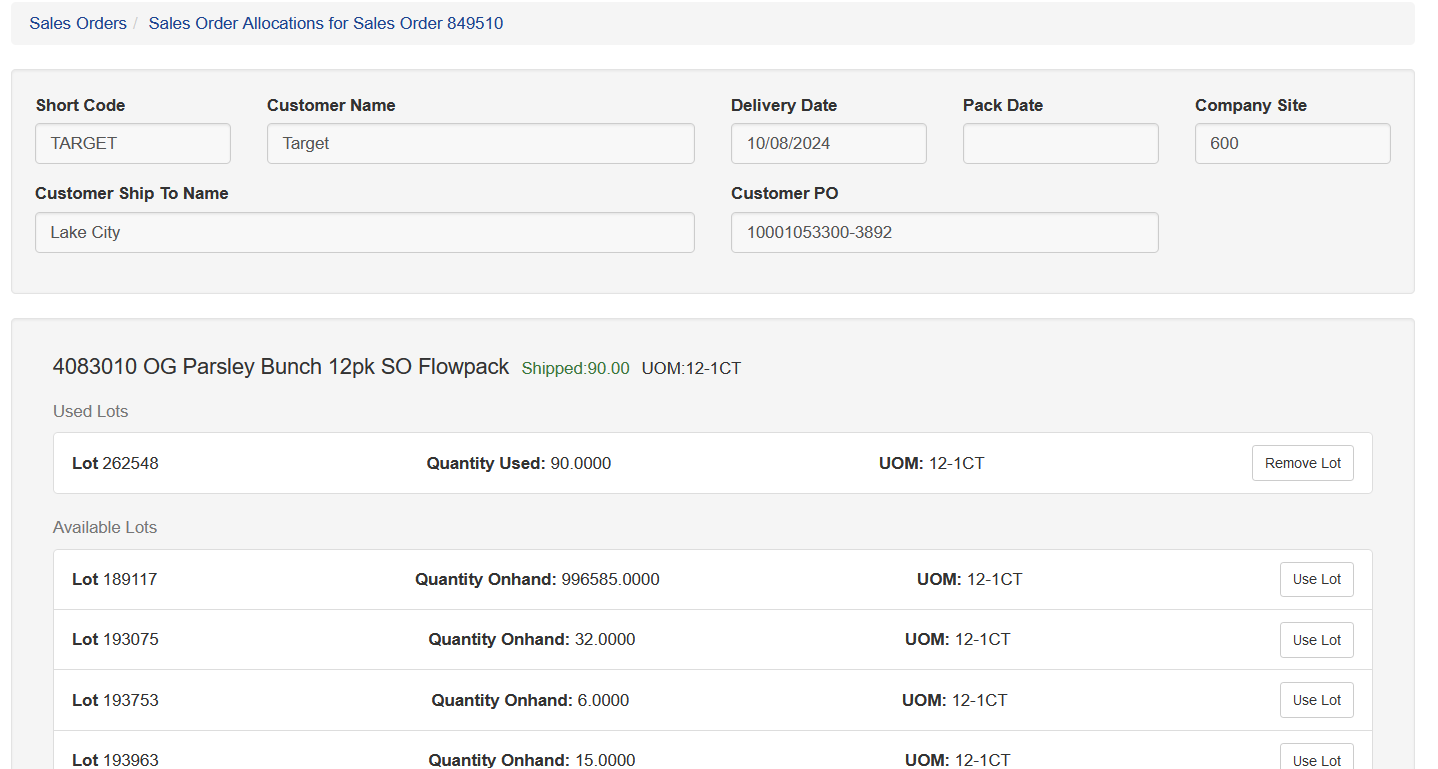
- Click Use Lot.
- Select the lot and quantity to allocate.
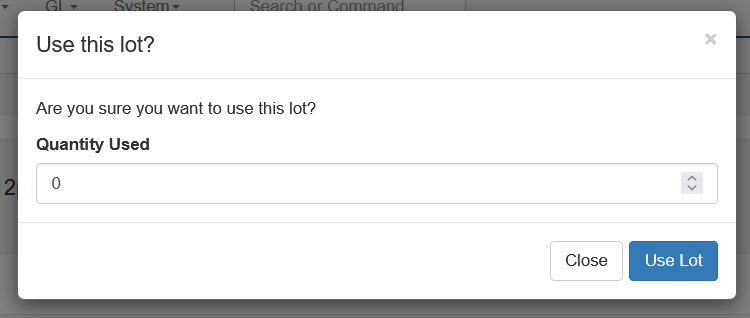
If multiple lots are available, choose the lot that should supply the inventory.
Additional Allocation Options
Clear Allocation
Removes all existing allocations for the order.
Auto Allocate
Attempts to automatically allocate inventory again.
Changing Existing Allocations
Users can edit existing allocations by clicking:
- the orange exclamation icon, or
- the green checkmark icon
This allows the user to modify the lots assigned to the order.
Saving Allocations
After making allocation changes:
- Click Save Changes.
A confirmation message will appear when the allocation has been saved successfully.
