Seeding An Item
Build An Item
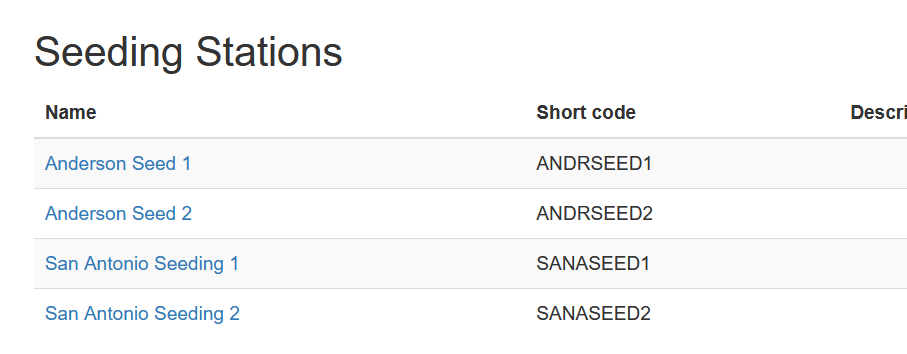
From IC - Seeding Stations click the Name of the Seeding Staton in blue you wish to start a seeded lot on.
Note: Once you select your seeding station you will see the address for that seeding station, an example is below. You can use that link to create a shortcut directly to that seeding station.

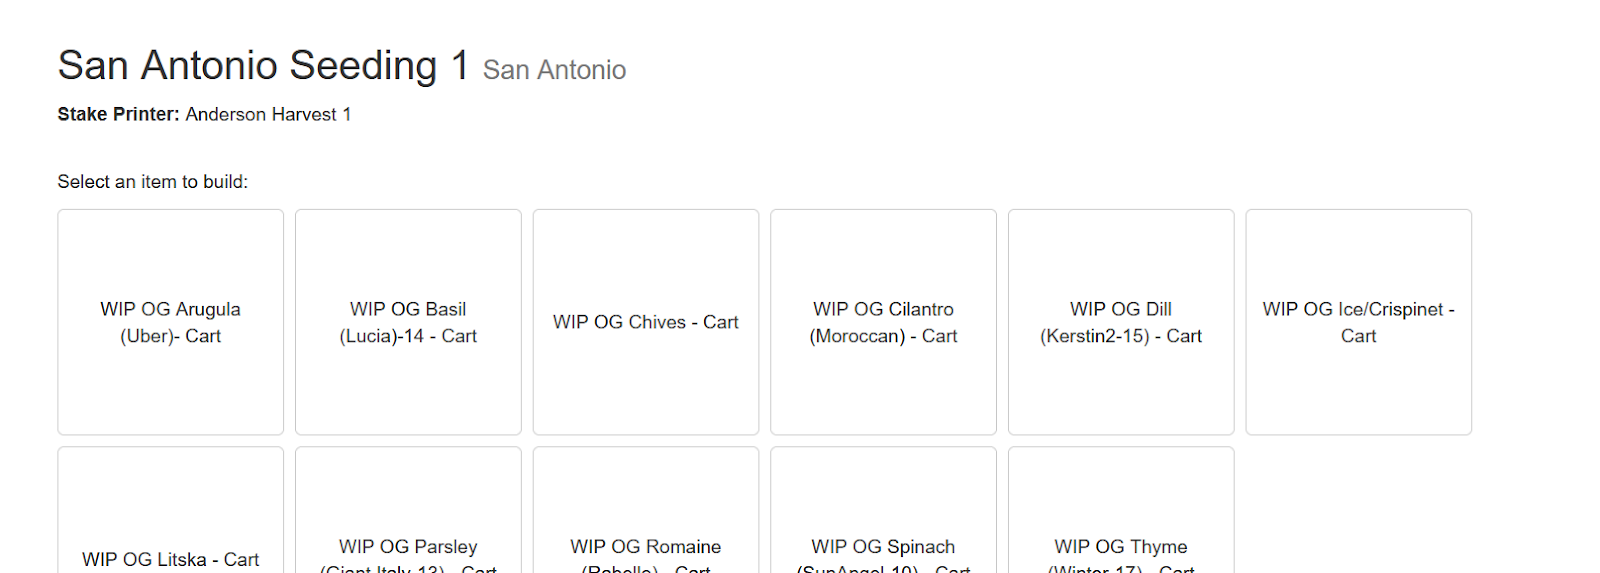
Once the seeding station is selected you will see the items that can be built on that station. You will also see the stake printer, if it is in use. Tap the item you wish to build.
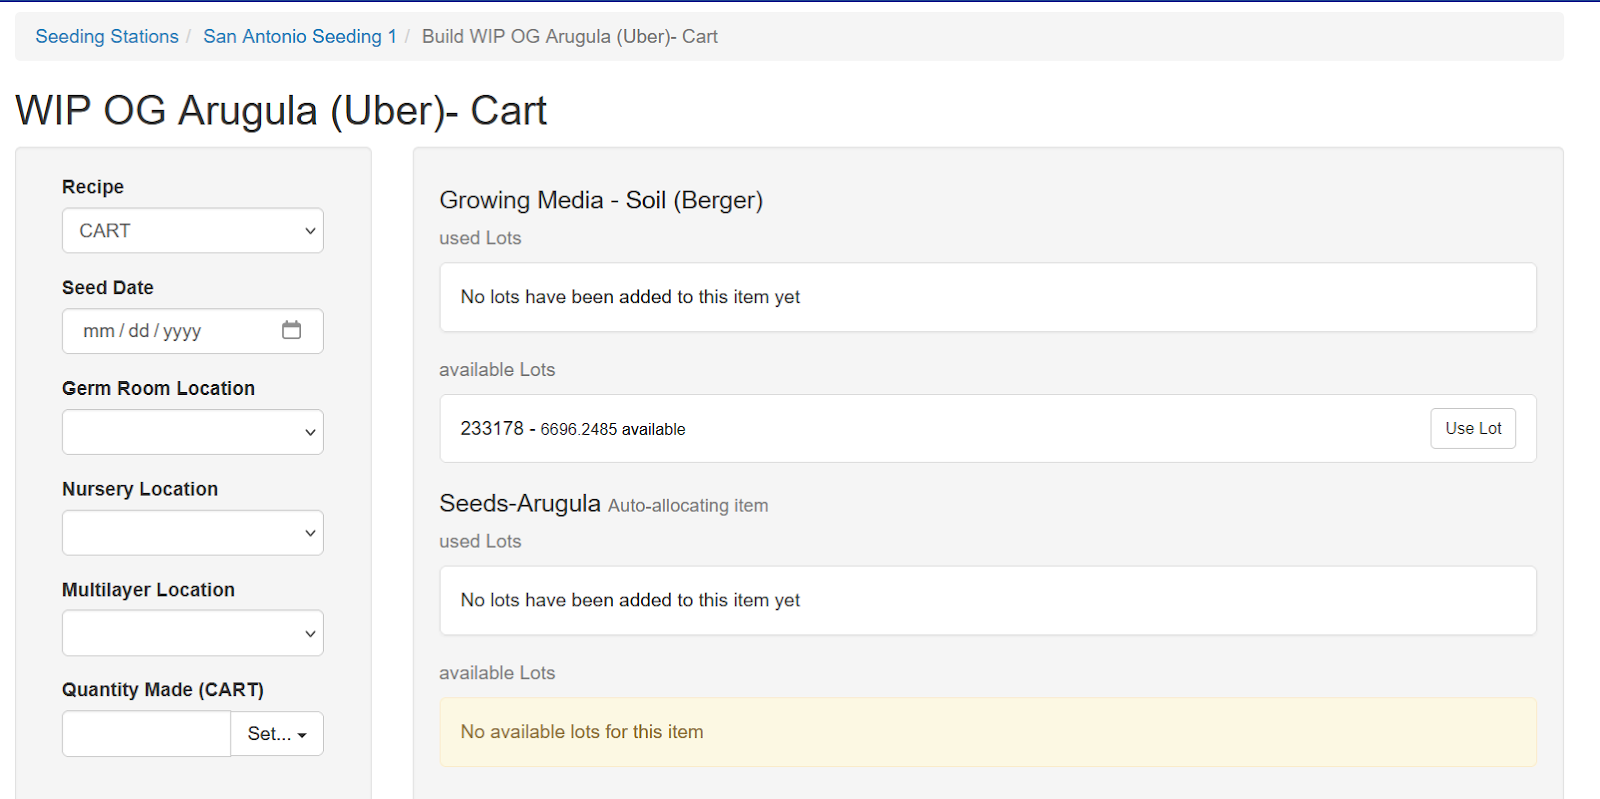
On the seeding screen you can choose the recipe if there is more than one, or if there is only one it will automatically be selected
Choose the date that the item is seeded.
Note: You can start seeding jobs ahead of time without allocating inventory. More on that in a subsequent section.
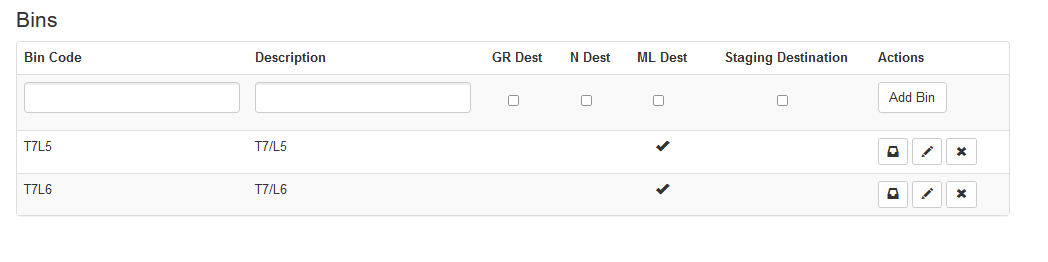
If you use the Seed Stake Printer option, choose your Germination Room, Nursey and Multi Layer location.
Once you have these initial requirements set choose the number made and click Set.
Printing a Seed State
The seed stake, if configured, will print when the Set button is selected on quantity made.
Printing Restrictions
The seed stake is physically small, leaving only a certain amount of space to print on. Is is strongly recommended that the bin “Description” which is printed for each location - Germ, Nursery, etc - should be limited to 10 characters.
Save a build for future use
Some users will want to pre build seeding tasks for the future. Follow the same steps as above but do not click complete.
Note: It is best to have no auto allocating inventory if you are creating prebuilds, otherwise you will have additional steps to capture the actual lot used.
Item Allocation
An important task in seeding is capturing the actual lot used. This assigns the correct cost. If an item in the seeding kit is set to auto allocation the lot used will be assigned using first in, first out - often referred to as FIFO. This is indicated by “Auto-allocating item” to the right of the item name.
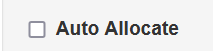
Auto allocation is configured by checking the Auto Allocate check box on the main tab of item setup:
To learn more about auto allocating, please visit the “How to create an item” document and search for “Auto Allocate”

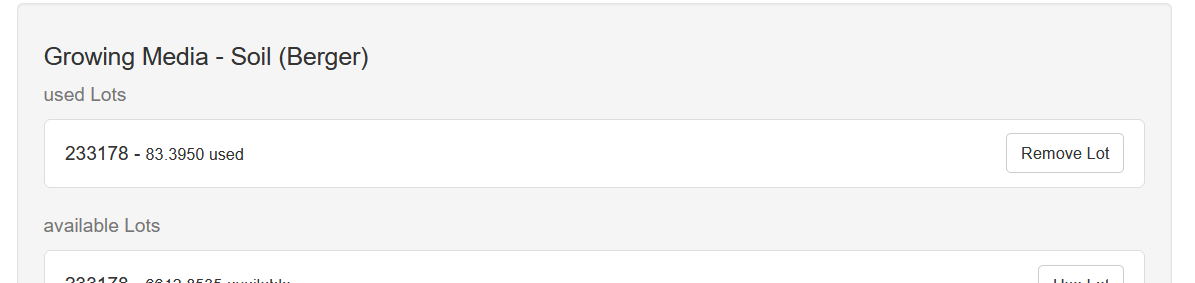
If the item is not set to auto allocate, the user will see a listing of available lots and quantity remaining for the item that exists in their company site. The user will choose a lot to use by clicking Use Lot.

Note: Currently you are unable to allocate across multiple lots to the same build.
Removing Item Allocation
If the user needs to either unallocate a lot, or change the lot, click the “Remove Lot” button.
Building a previously started job
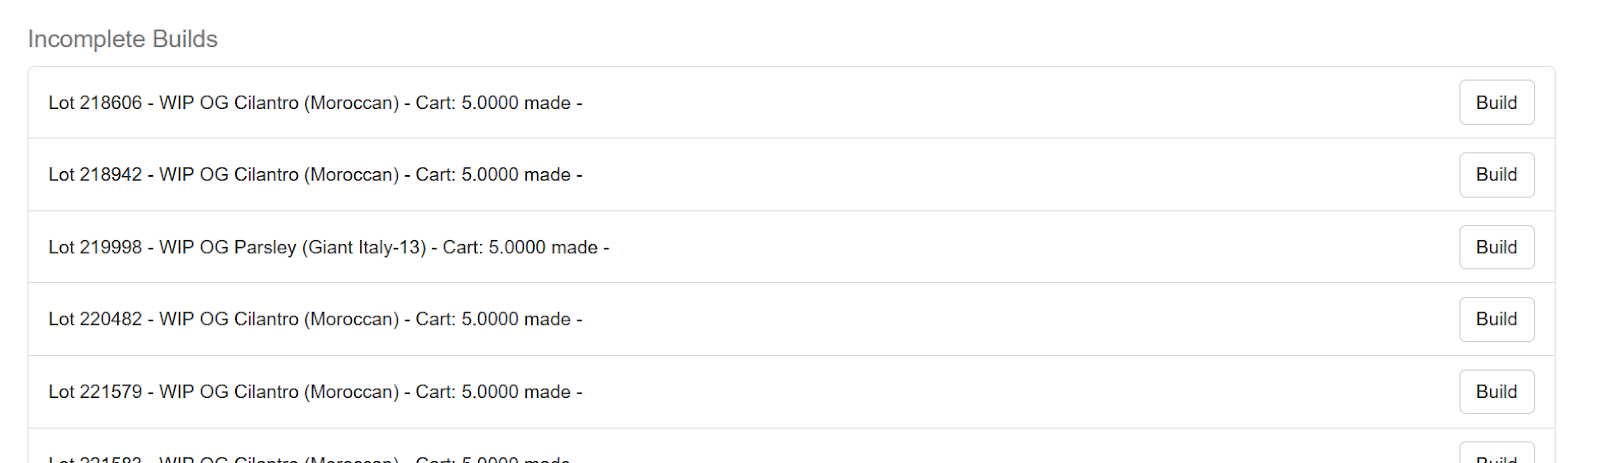
If a job has been started, but not completed, you can continue with that job by selecting the seeding station. Below the buttons showing the items you can continue with Incomplete Builds. The item name, quantity and selected seed date will show on each line.
Removing a Seeding Job
If a user needs to cancel and remove a seeding job, on the build screen click Undo in the bottom right. This will return any allocated inventory to stock and remove the newly created lot and the build job. This is not available once Complete has been selected.
Completing a Seeding Job
Once you have assigned all lots to a job click Complete in the bottom right. This closes the job out and completes the process.